Rendering languages in code blocks

17 January 2023by Jack McGregor

Rendering code languages in stylish blocks, especially when served from a CMS like Payload, can be tricky. Using JAMstack, developers can use the triple backtick method to denote which language they want to use, and most Markdown compilers are smart enough to know the difference.
For example, the following is written in Markdown:
# This is the title
```js
const str = 'hello world'
```
Which will render Javascript
const str = 'hello world'
But, like I said, rendering from a CMS can be awkward, as I found out writing this goddamn post.
So in this post, we're going to focus on two parts: the front-end, written in NextJS, and the backend, written with Payload.
Disclaimer: this post will not show you the NextJS or Payload configurations as it's out of scope
Let's start with PayloadCMS:

PayloadCMS

Payload can use something called Blocks when building content. The idea is that we break up our content - like code and text - into blocks, instead of using one to do the other (like using Rich Text to format with a code block, which may or may not work, and will always look shit.
Blocks belong in a sibling of /collections and ours will look a bit like this
import { Block } from "payload/types";
const languages = [
{ label: "markup", value: "markup" },
{ label: "bash", value: "bash" },
{ label: "clike", value: "clike" },
{ label: "c", value: "c" },
{ label: "cpp", value: "cpp" },
{ label: "css", value: "css" },
{ label: "javascript", value: "javascript" },
{ label: "jsx", value: "jsx" },
{ label: "coffeescript", value: "coffeescript" },
{ label: "actionscript", value: "actionscript" },
{ label: "css-extr", value: "css-extr" },
{ label: "diff", value: "diff" },
{ label: "git", value: "git" },
{ label: "go", value: "go" },
{ label: "graphql", value: "graphql" },
{ label: "handlebars", value: "handlebars" },
{ label: "json", value: "json" },
{ label: "less", value: "less" },
{ label: "makefile", value: "makefile" },
{ label: "markdown", value: "markdown" },
{ label: "objectivec", value: "objectivec" },
{ label: "ocaml", value: "ocaml" },
{ label: "python", value: "python" },
{ label: "reason", value: "reason" },
{ label: "sass", value: "sass" },
{ label: "scss", value: "scss" },
{ label: "sql", value: "sql" },
{ label: "stylus", value: "stylus" },
{ label: "tsx", value: "tsx" },
{ label: "typescript", value: "typescript" },
{ label: "wasm", value: "wasm" },
{ label: "yaml", value: "yaml" },
{ label: "html", value: "html" },
];
export const CodeBlock: Block = {
slug: "code",
fields: [
{
name: "language",
type: "select",
options: languages,
},
{
name: "code", // required
type: "code", // required
required: true,
admin: {
language: "tsx",
},
},
],
};
The languages array is important - first it is the label and value which we'll use see in Payload, second its what the client needs to see (but we'll get to that later).
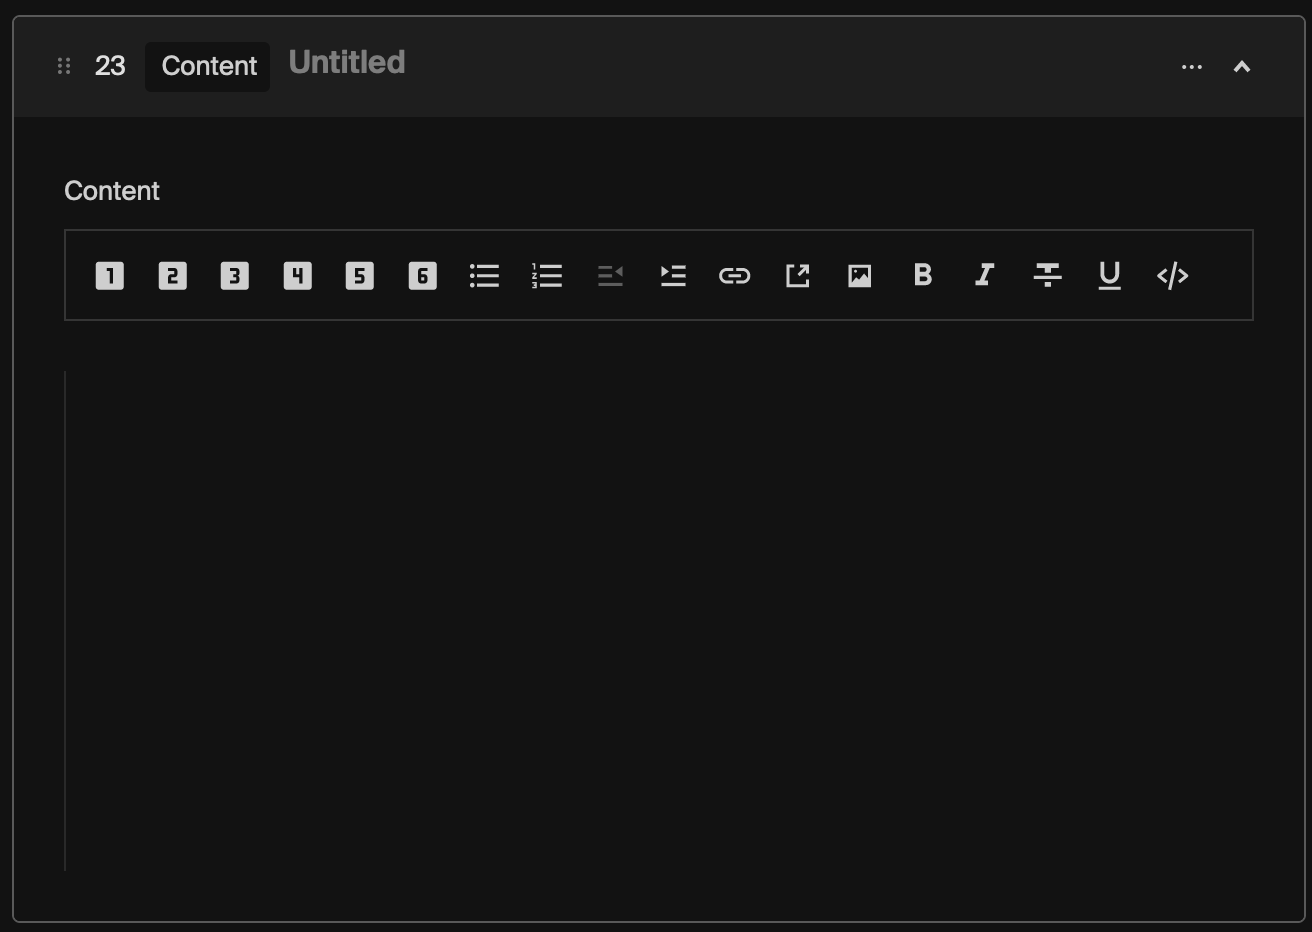
Next up is our Text Block, which will esentially be a Rich Text type in its own block
import { Block } from "payload/types";
export const ContentBlock: Block = {
slug: "content",
labels: {
singular: "Content",
plural: "Content Blocks",
},
fields: [
{
name: "content",
type: "richText",
admin: {
leaves: ["bold", "italic", "strikethrough", "underline", "code"],
upload: {
collections: {
media: {
fields: [
// any fields that you would like to save
// on an upload element in the `media` collection
{
name: "alt",
type: "text",
},
],
},
},
},
},
},
],
};
You can change this as you like, but its useful to be able to add media into it.
Once the blocks are created, you can add them to the resource's (in my case, Posts) fields array:
import { CollectionConfig } from "payload/types";
import { ContentBlock } from "../blocks/Content";
import { CodeBlock } from "../blocks/Code";
const Posts: CollectionConfig = {
slug: "posts",
fields: [
// ...
{
name: "content",
label: "Page Layout",
type: "blocks",
minRows: 1,
// the blocks are reusable objects that will be added in array to the document, these are especially useful for structuring content purpose built for frontend componentry
blocks: [ContentBlock, CodeBlock],
},
// ...
],
};
export default Posts;
Once configured, we should be able to create an instance of content by selecting either CodeBlock or ContentBlock:
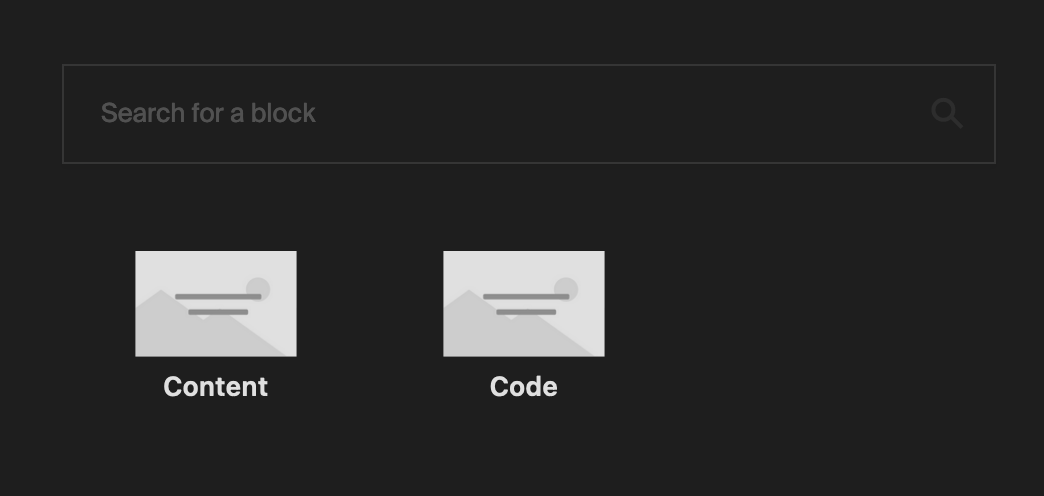
blocks in payload
ContentBlock
content block
CodeBlock
code block
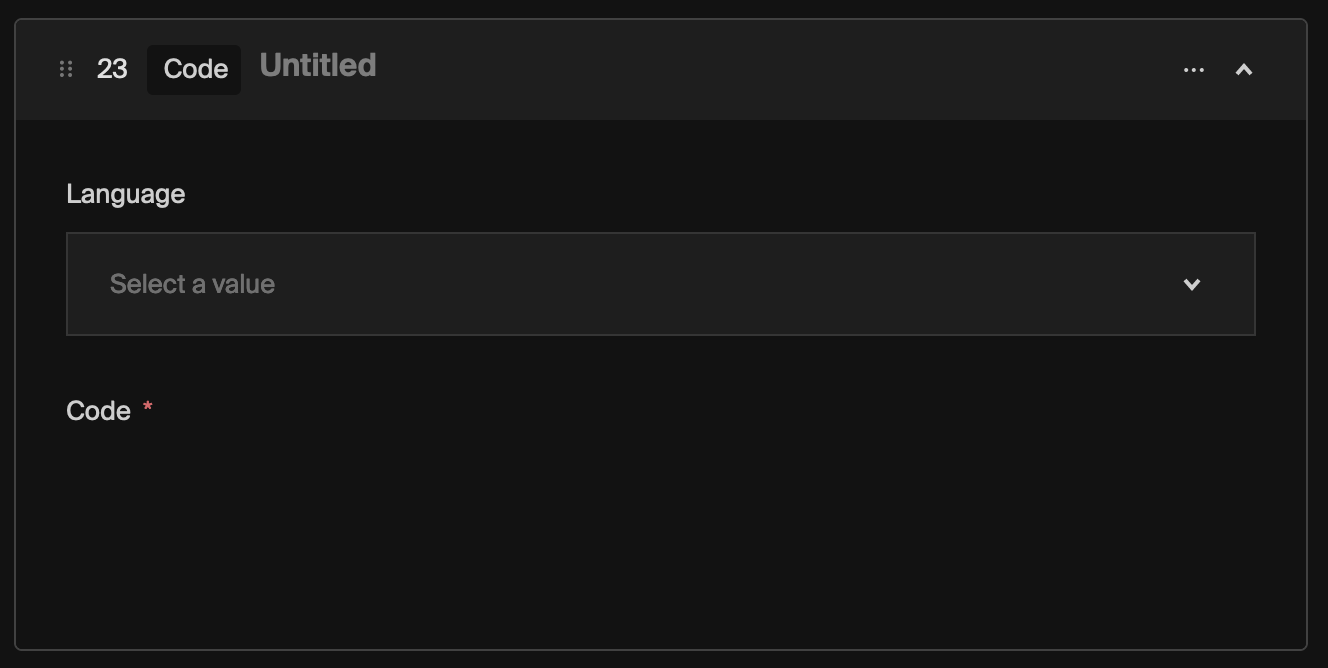
Drop in some code, select a language and away you go!
The following CodeBlock...
CSS example
...will eventually be rendered like so:
html {
padding: 30px;
}

NextJS

We all know that NextJS is extraordinarily powerful as is, but it really comes alive when mixed with other plugins.
Plugins like @mantine/prism - install following the instructions
In its most simple form, we take the language property we set on CodeBlock and use it to determine the language for our rendered code.

Step 1: Query the content

Make sure your GraphQL query has the correct fields
// /queries/posts/GetPost.ts
import { gql } from '@apollo/client';
export const GetPost = gql`
query Post($id: String!) {
Post(id: $id) {
content {
... on Content {
content
blockName
blockType
}
... on Code {
code
language # <- the language type
blockName
blockType
}
}
}
}
`;
// /pages/posts/[slug].tsx
export const getStaticProps: GetStaticProps = async ({ params }) => {
const apolloClient = initializeApollo();
const { data: post } = await apolloClient.query<{
Post: Post;
}>({
query: GetPost, // <- the query from above
variables: {
id: params.slug,
},
});
return {
props: {
post: post.Post,
},
};
};
Once queried successfully, you should be using a serialiser to render your content, and its fairly straightforward to add the language to Prism
import { serialize } from '../../lib/serialiser';
// /pages/posts/[slug].tsx
const PostPage = ({ post, posts }: PostPageProps): JSX.Element => {
return (
<article className="mx-auto flex max-w-4xl py-10">
{post?.content && (
<div className="space-y-4 leading-8">{serialize(post.content)}</div>
)}
</article>
);
};
/* eslint-disable @typescript-eslint/ban-ts-comment */
import escapeHTML from 'escape-html';
import Link from 'next/link';
import React, { Fragment } from 'react';
import { Text } from 'slate';
import ShortyInners from '../components/ShortyInners';
export const serialize = (children) => {
if (Array.isArray(children)) {
return children.map((node, i) => {
// ...
if (node.blockType) {
if (node.content) {
return serialize(node.content);
}
if (node.code) {
return (
<div key={i} className="w-full h-auto">
<ShortyInners
language={node.language}
>{`${node.code}`}</ShortyInners>
</div>
);
}
}
// ...
});
} else {
return <div>{children}</div>;
}
};
// /components/ShortyInners.tsx
import { Prism, PrismProps } from '@mantine/prism';
import React, { useEffect, useState } from 'react';
const ShortyInners = ({
children,
language = 'tsx',
}: {
children: string;
language?: PrismProps['language'];
}) => {
const [renderCode, setRenderCode] = useState({
isError: false,
code: '',
message: 'Nothing added to code block.',
});
try {
if (renderCode.code !== children.trim()) {
setRenderCode({
isError: false,
code: children && children.trim(),
message:
children && children.trim().length
? ''
: 'Nothing added to code block.',
});
}
} catch (e: any) {
if (!renderCode.isError) {
setRenderCode({
isError: true,
code: '',
message: e.message,
});
}
}
useEffect(() => {
if (renderCode.isError) {
setRenderCode({
isError: false,
code: '',
message: 'Nothing added to code block.',
});
}
}, [children]);
return (
<>
<div className="bg-slate-700 p-1 flex flex-col h-full w-full items-center justify-center">
<code className="h-full w-full">
<Prism language={language}>{children}</Prism>
</code>
</div>
</>
);
};
export default ShortyInners;
Once everything is set up successfully, you should be able to render any language of your choosing that Prism supports (Tip: you can actually add languages eg HTML to the Payload list, but be careful).
You should hopefully be able to render multiple code blocks of varying languages in a funky blog post!
Thanks for reading!
Bash
#!/usr/bin/env sh
if [ -z "$husky_skip_init" ]; then
debug () {
if [ "$HUSKY_DEBUG" = "1" ]; then
echo "husky (debug) - $1"
fi
}
readonly hook_name="$(basename -- "$0")"
debug "starting $hook_name..."
if [ "$HUSKY" = "0" ]; then
debug "HUSKY env variable is set to 0, skipping hook"
exit 0
fi
if [ -f ~/.huskyrc ]; then
debug "sourcing ~/.huskyrc"
. ~/.huskyrc
fi
fi
HTML
<!DOCTYPE html>
<html lang="en">
<head>
<meta charset="UTF-8">
<meta http-equiv="X-UA-Compatible" content="IE=edge">
<meta name="viewport" content="width=device-width, initial-scale=1.0">
<title>Document</title>
</head>
<body>
<h1>Hello world</h1>
</body>
</html>
SCSS
$button-color: #000000;
.wrapper {
display: block;
content: "";
position: absolute;
top: 15%;
left: 0;
width: 100%;
height: 70%;
background-color: $button-color;
border-radius: 2.8rem;
transition: transform 0.5s cubic-bezier(0.47, 2, 0.41, 0.8);
transform: scale(1, 1);
pointer-events: none;
overflow: hidden;
mix-blend-mode: exclusion;
.entering &,
.entered & {
transform: scale(1.1, 0.96);
}
}
GraphQL
union Post_Content = Content | Code
type Content {
content(depth: Int): JSON
id: String
blockName: String
blockType: String
}
JSON
{
"scripts": {
"build": "yarn copyfiles && yarn build:payload && yarn build:server",
},
"dependencies": {
"react-icons": "^4.7.1"
},
"devDependencies": {
"typescript": "^4.8.4"
}
}
Playwright ID scraper31 January 2023Seed file for PayloadCMS23 January 2023Creating dynamic test IDs for Jest and Playwright17 January 2023